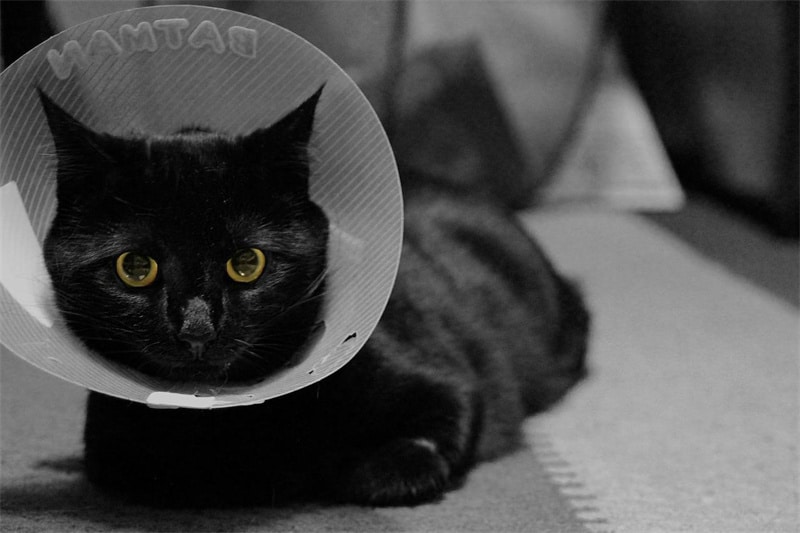
If you have ever owned a cat, you know what a great asset an E-collar is for a cat, especially when it is injured or has undergone surgery. E-collars prevent cats from lciking themselves around a wound or surgery site.
A DIY E-collar is simple to make and needs only a few things that you probably already have in your home. Let’s look at a few E-collars you can make with easy-to-find materials.
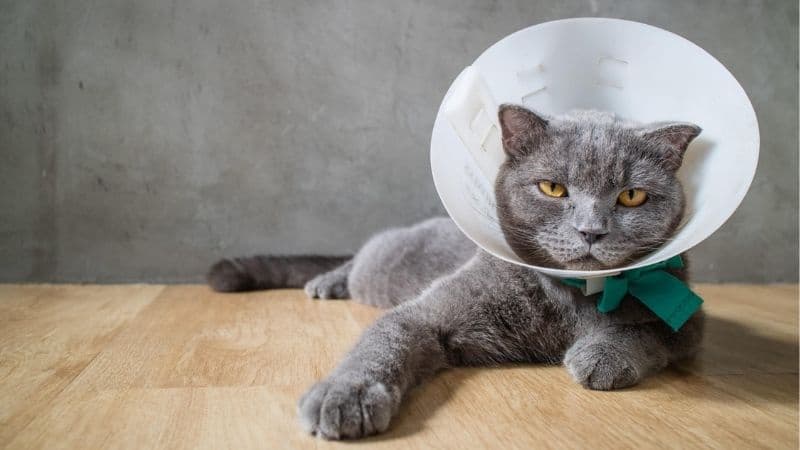
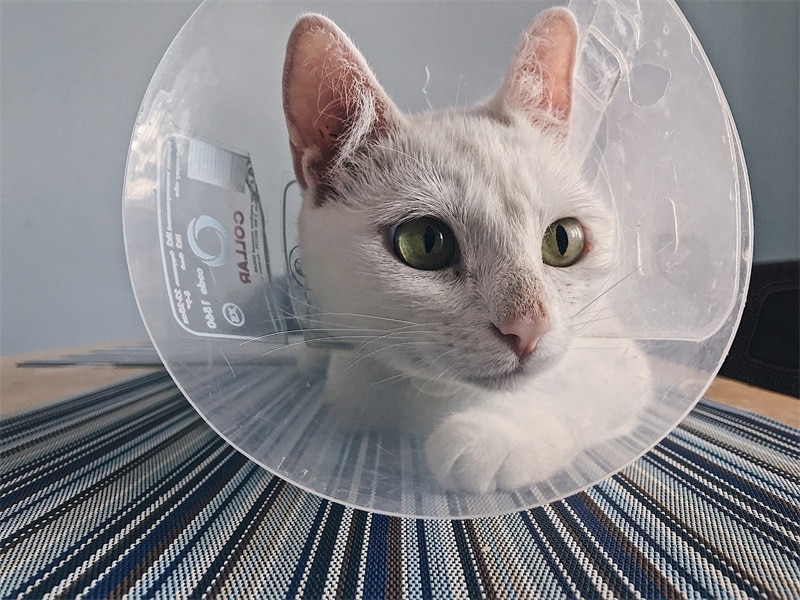
An E-collar for cats is also referred to as an Elizabethan collar and is used to prevent cats from licking, scratching, or irritating wound sites that need healing. These activities can put the wound site at risk for infection or further injury.
The Elizabethan collar gets its name due to its appearance resembling the Elizabethan ruff, a piece of attire common during the Elizabethan era.
E-collars, also known as cat cones, are usually made of rigid plastic and fastened to the cat’s neck using an elastic gauze or clasp. These collars can be made using various materials found at home as well.
Cats require these collars when there are wounds caused by injuries or surgical stitches. The collar reduces the cat’s range of motion, thereby preventing them from further irritating the wound or surgery site.
The collar comes in cone form, making it possible for the cat to see from the front while making it difficult to reach and lick various parts of its body.
Although you can buy cat E-collars from pet stores, it’s simple to make them at home using things you have. You may not even imagine that it’s possible to make E-collars out of the materials you are about to learn below.
Due to convenience and cost-effectiveness, DIY cat E-collars are becoming more popular among pet owners. Let’s look at how you can make these E-collars at home.
Cardboard is easy to find at any home and is a simple E-collar to make for cats.
Materials required
Method
If you are someone who keeps paper plates to avoid doing dishes, then this E-collar is simple to make with what you have in hand.

Materials required
Method
This E-collar is a strong one that will be difficult for your cat to destroy.
Materials required
Method
You’re sure to have some extra towels, not in use in your home. These towels, including hand towels, can be used to make a simple E-collar for your cat.

Materials required
Method
The poster board collar is a fun activity you can try out with the help of your kids. It can help test your math skills as well.

Materials required
Method
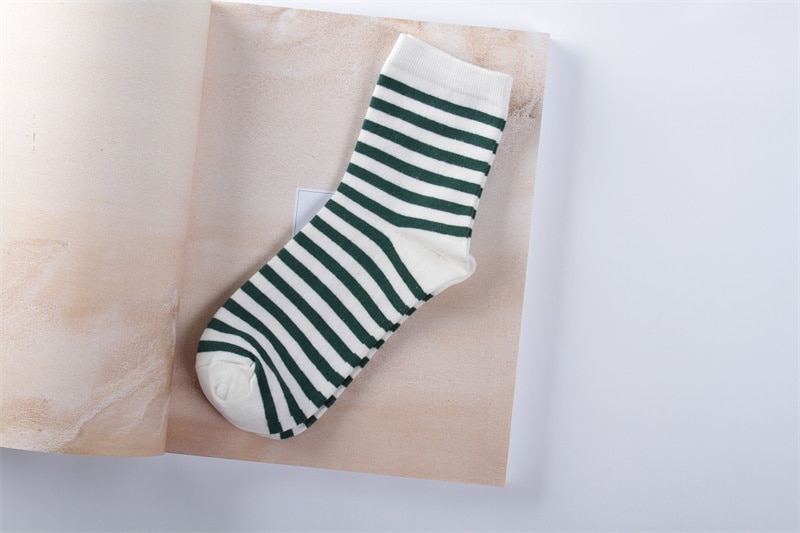
Socks are also something you have lying around in pairs in your home. A pair of socks you don’t use can become handy for making an E-collar for your cat. It is one of the cheapest options available and one that is very comfortable for your cat.
Materials required
Method
Here are a few tips to keep in mind to ensure that your cat gets an E-collar that is comfortable.
DIY E-collars for cats are the latest trend, and there are many benefits to this.
If you’re not creative enough or can’t be bothered to make an E-collar at home, below are a few options that you can try out as an alternative.
People often tend to confuse Elizabethan collars with e-collars available for cats. An e-collar or shock collar is used for training pets and allows pet owners to send an electric shock to cats through the press of a button on the remote.
The prongs on the e-collar make contact with the cat’s skin, thereby sending a mild shock as a warning to help change unwanted behavior.
An Elizabethan collar is different from an e-collar, as the former is mainly used to prevent cats from licking from wound sites.
Making an E-collar for a cat is simple, quick, and cost-effective. In addition, you can do it using multiple things available right in your home.
Next time you need an E-collar for your cat, don’t rush to the pet store. You can easily make any one of the E-collars above by yourself.
Ensure that the E-collar is not too tight on your cat. Try to feed your cat or give it treats to keep it distracted from this activity.
The collar should be loose enough that you can insert two fingers between it and your cat’s neck. The gap should not be more than this, as then the E-collar could easily fall off your cat’s neck.
Cats can eat, drink, and sleep with the E-collar. All these activities are encouraged as doing these will encourage your cat to get used to wearing the E-collar.
You need to keep the E-collar on your cat until the wound has completely healed. This time could range between a few days to a few weeks, depending on the severity of the wound.
Copyright 2022. All Rights Reserved. www.siameseofday.com | Privacy Policy | Disclaimer | Terms & Conditions


